Easily Create your own AI chat bot using Cloudflare AI with Free open source AI models
Hi, in today’s post, we are going to deploy our own AI chat bot using Cloudflare AI on the Cloudflare Workers serverless platform. Many notable open-source AI models are currently available at Cloudflare of which most notable are mistral-7B and llama2-13B models. Other than text models there are many exciting models available too, like stable-diffusion for image generation, etc. Today we will focus on the text-based models to create our own chatbot Friday And you can use this same procedure to deploy your own. Let’s begin.
What is Cloudflare AI
Cloudflare AI is a serverless GPU platform to run AI models that run on top of Cloudflare workers network.
Features :
- Currently runs on over 100 edge locations and increasing every day in the Cloudflare network.
- You get 100K requests per day for free.
- Pre-integrated open-source AI models.
- More privacy
Drawbacks :
Workers AI is currently in beta and launched recently, so it is understandable that it has miles to go to be extraordinarily capable, as of today. Some drawbacks that I should highlight are:
- Limited 256 tokens per request ( which should increase). I have gotten higher tokens in some responses.
- You cannot bring your own custom-trained AI model, only a pre-built solution for now.
- Overall limited functionality
But that doesn’t mean we can’t build anything, we can and it is good.
Let’s build the Chatbot
Let me break down the steps for you first before as an explanation:
- Deploy pre-built text generation from the Cloudflare dashboard.
- Copy the index.js from the GitHub repository and publish.
- Modify the language model you want to use.
- Create a front-end website and deploy it on GitHub pages, Cloudflare pages, or wherever you like.
- Put your worker URL in the API URL field.
Voila, you have built your own AI Chatbot.
For today’s deployment we will be using the GitHub repository of localuser-isback.
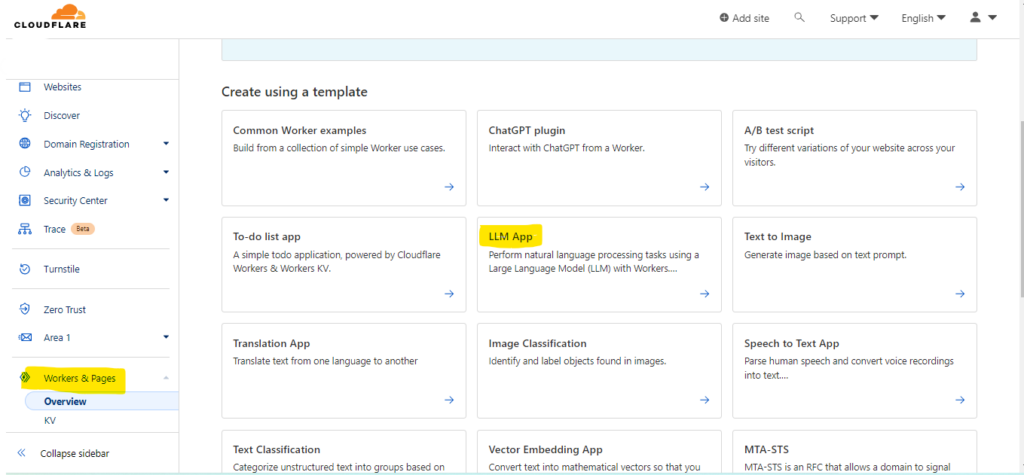
Step 1: Deploy a pre-built workers script for text generation
Go to the worker section of the Cloudflare dashboard and deploy a pre-built worker for text generation( at the time of writing it comes with llama2-7b int8) and deploy it. Don’t forget to give it a nice name. Now, go to the ‘Edit Now’ and enter the worker editing screen.

Step 2: Modify the Index.js script
For this we are going to use a beautiful script from localuser-isback’s GitHub repository. Copy the index.js file and paste it in your worker playground and save. You will find that in the CF folder.
Now we need to change the language model our worker is using. In the index.js file you will find one line that says const ai_model = "@cf/meta/llama-2-7b-chat-int8"; we are going to change it to our preferred model. You can find the list at Cloudflare. Here I am using '@hf/thebloke/mistral-7b-instruct-v0.1-awq',to use the mistral chatbot and for the llama chat-bot I am using the @hf/thebloke/llama-2-13b-chat-awq model. You can find a better list in the vendor file at your worker playground. Go toward the bottom for the AI models. The hf-bloke models are more uncensored. Now you have a worker URL, which is your API URL.
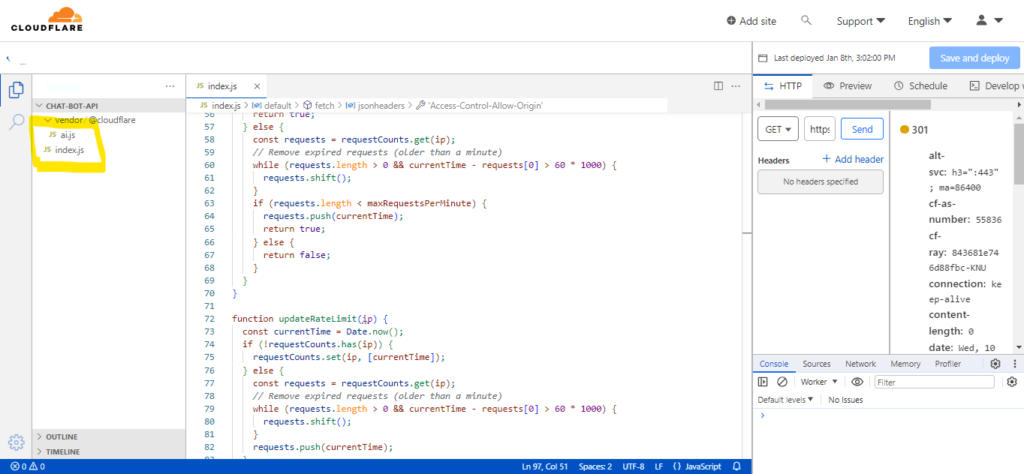
Step 3: Handle CORS
Now you don’t want the whole world to use your API on their website. So set a CORS policy to block requests from other websites, and only allow your own website. Look for the below code in your index.js file.
const jsonheaders = {
      "content-type": "application/json;charset=UTF-8",
      'Access-Control-Allow-Origin': '*',
      'Access-Control-Allow-Methods': 'GET, POST, PUT, DELETE, OPTIONS',
      'Access-Control-Allow-Headers': 'Content-Type',
      'Access-Control-Max-Age': '86400',
    };
In ‘Allow Origin’, enter your URL, where you are planning to deploy your chatbot.
That’s all that needs to be done at Cloudflare.
Step 4: Deploy the front-end
Deploy the front end of the chatbot as a static website. For this I would prefer a GitHub page or a cloudflare page (deploy a Cloudflare page). You can use the provided html in the GitHub repository if you want or you can use our chatbot Friday’s interface, or Chatty’s interface if you want, here is the GitHub repo for that. Remember to put your worker’s URL as the API URL in the script.js file. And customize the chatbot as you want. Here is the GitHub repository of Friday and Chatty.
Step 5: A little customization
Now if you want your chatbot to be customized like give it a name or make it funny, or sad etc look for the constant prompt line in the index.js and change it accordingly
const preprompt = "You are a helpful and responsive assistant, you answer questions directly and provide instruction unless told otherwise.";That’s it.
Conclusion
That’s how easy it is to deploy an AI chatbot with Cloudflare workers. Ofcourse it has its fare share of limitations, but cloudflare is really pushing and now they have an image generation model too. But that’s for a future post, until then enjoy your own AI assistant.